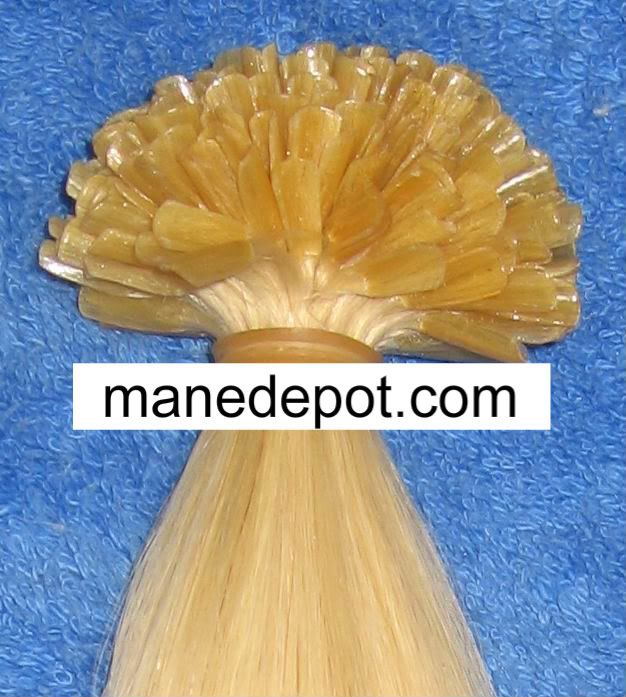
I have received quite a few batches of these �V� fusion tips lately and
they differ from company to company. Some of the V-tips are super hard
and really hard to cut straight, as the scissors naturally want to rear off to
the side when cutting them. Then you end up with a ridge bump on one
side and usually uneven strands. Some I got were more pliable and only
needed to be bend flat with your fingers and then cut. So this is really for
those that you get that are super hard...
Saw a thread earlier regarding cutting bonds����.thought this may
help get the best results.
This is the way I cut those hard fusion tips that are �V� shaped��..
HOW TO GET THE MOST EVEN CUT
1. Take a flat nose pliers and starting at the very top of the �V� tip,...�very
gently� squeeze the pliers down until it starts to open out~ going slowly.
(Remember don�t press too hard at first-you don�t want to split the tip
beforehand, which may cause uneven strands or possibly shedding).
2. Once it starts to open out, tap the pliers flat on the tip a few times.
3. Once the top portion is flat, move to the center of the tip and repeat.
4. Once the center is flat, move to the bottom of the tip and repeat. While
you apply the last few taps on the bottom part of the tip�.. keep the
pliers shut on the bottom part of the tip, securing it tightly. Keep the
extension strand firm on the other end. Then with the pliers still in a
closed position on the bottom part of the bond, give a few taunt tugs,
pulling upwards~ while keeping a very tight hold of the hair strand in
your other hand. Now your tip should be nice and flat. It should not be
trying to close up at all.
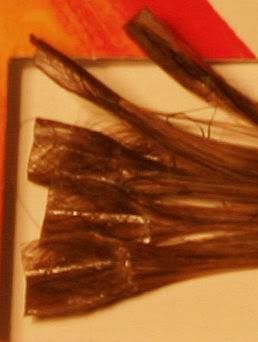
5. Now you should have a nice flat �Square� tip. Now part the strand
evenly in the middle (or whatever desired thickness of a strand you
require) and separate it into two ponytails. Make sure there are no hairs
overlapping and the strand is evenly split.
6. Now turn the tip upside down (the tip should be facing down to the
ground and the two strands of hair separated above). With your thumb
and forefinger pinch one side of the strand close to the tip area, and
secure the other side of the strand by trapped that strand in-between
your middle finger and other two fingers. Use a nice even tension on both
sides. Make sure there are no stray hairs in the way.
7. Now cut down into the first half of the tip and then take out the
scissors, just to see you are on track and heading down the bond evenly
to meet �exactly� where the hairs are parted. The material is pretty hard
stuff and you need a bit of pressure when cutting. to keep the line super
straight.
8. Once you are happy with the line up (keeping the tension on the hair
strands) continue to cut just exactly where the bond ends and the hair
separates. Don�t go past that bond point with the scissors as you�ll end
up cutting into the hairs more than you need to. Just snip down on the
very last mm part so the scissors �just� reaches the end of the bond�
..and then separate the two strands. If you did not go past the bond point
when you cut then you should have very little loose hairs to remove
afterwards. If you did cut past the bond point and into the hairs then you
may notice a tad more shedding on the strands.
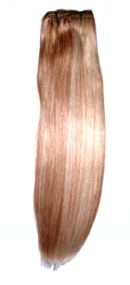
9. Smooth down the strand removing any loose hairs.
10. You can tidy up the bonds even further if you wish, trimming off any
little ridges or bumps that you may see. You should have a nice even
rectangle tip. Now your tips are ready for install.
Note* Not all strands are created equally during production and you may
find some strands that are thinner than others. You may want to just trim
those bonds down on the sides a bit and install.
You cannot post new topics in this forum You cannot reply to topics in this forum You cannot delete your posts in this forum You cannot edit your posts in this forum You cannot create polls in this forum You cannot vote in polls in this forum


 Topic Options


 Post Options
") Thanks(0)
Thanks(0)


 Aphrodite wrote:


 ,,,,,Did I forget anything?